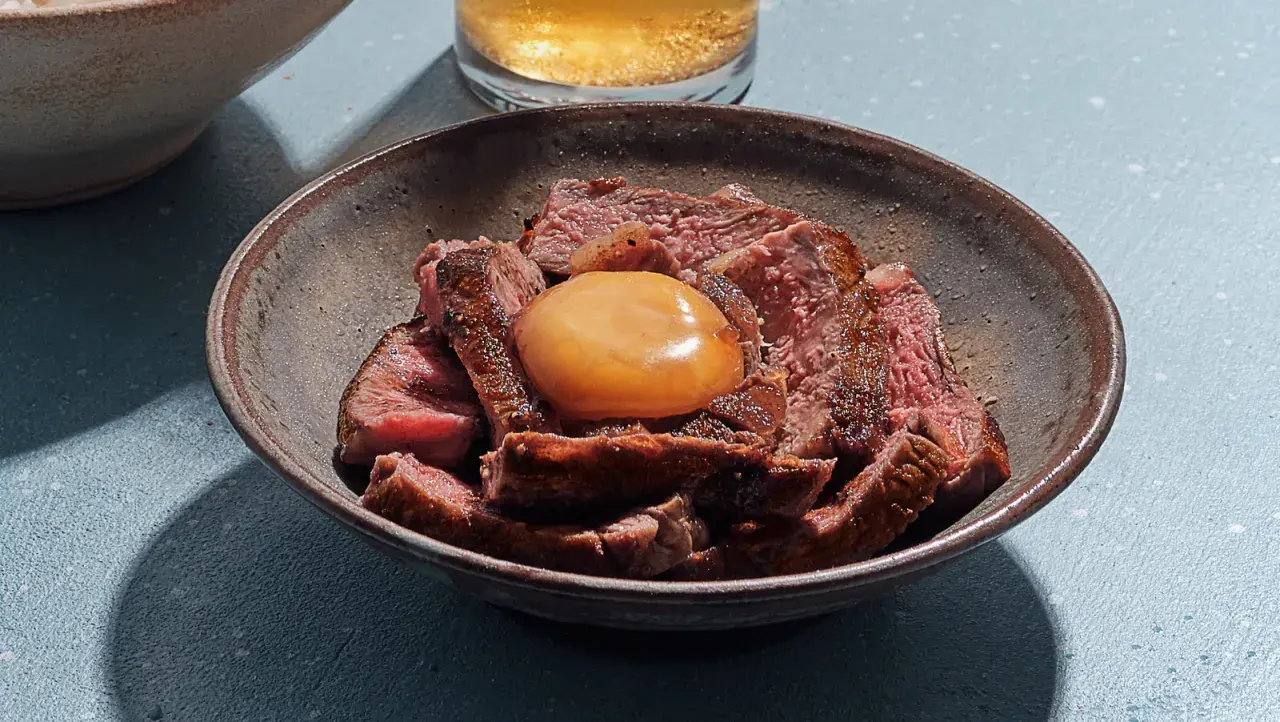
A salt cured egg yolk is one of those small kitchen techniques that can change how a dish finishes. The yolk turns firmer, saltier, and more savoury as moisture is drawn out, which makes it useful as a grateable garnish for pasta, potatoes, vegetables, seafood, and simple Basque-style bites. In this guide, I focus on what the cure does, how to make it properly at home, how long it keeps, and where it works best on the plate.
What matters most before you start
- The cure works by drawing water out of the yolk, which concentrates flavour and firms the texture.
- For a reliable result, keep the yolks fully buried in salt and refrigerate them the whole time.
- A 7-day cure is a strong starting point; longer curing and gentle drying give a firmer, more grateable finish.
- Use the finished yolks as a finishing ingredient, not as a cooking fat or a main protein.
- Store them airtight in the fridge and watch for moisture, soft spots, or off smells.
What curing does to the yolk
I think of this technique as turning a delicate ingredient into a seasoning. The salt pulls moisture out of the yolk, the structure tightens, and the flavour becomes more concentrated and savoury. The result is not quite cheese, not quite egg, and definitely not a normal cooked yolk. It is closer to a hard, salty, umami-rich garnish that you shave or grate over hot food.
The important distinction is this: curing changes texture through dehydration, not by cooking. That is why the finished yolk can feel almost parmesan-like when it is properly dried, while still keeping a clean egg flavour underneath all that salt. If you want the ingredient to finish a dish rather than disappear into it, this is exactly the effect you are after.
| Stage | Texture | Flavour | Best use |
|---|---|---|---|
| Fresh yolk | Soft, fragile, liquid | Rich and creamy | Sauces, emulsions, custards |
| Salt-cured but still slightly tender | Firm, sliceable | Salty, savoury, concentrated | Thin slices over warm food |
| Fully dried | Hard, grateable | More intense, almost cheesy | Finishing garnish, fine shavings |
That progression matters because it tells you when to stop. If you want shavings that melt slightly on contact with hot food, you aim for the drier end. If you want something a little softer for slicing, you pull it earlier. Once you can read that texture shift, the method itself becomes much easier to control.

How I cure yolks at home
My preferred method is straightforward: use enough salt to fully bury the yolks, keep everything cold, and give the yolks enough time to firm up before you dry them. I usually cure four yolks at a time because that is manageable and it reduces waste if you are still learning the texture you like.
| Ingredient | Amount for 4 yolks | Notes |
|---|---|---|
| Egg yolks | 4 large yolks | Use the freshest eggs you can reasonably buy. |
| Fine sea salt or kosher salt | Enough to fully cover the yolks, usually 500 g or more | You need a thick bed and a thick top layer. |
| Optional sugar | Up to 100 g mixed into the salt | Rounds the sharpness slightly and makes the cure less aggressive. |
| Shallow non-reactive dish | 1 | Glass, ceramic, or food-safe plastic is ideal. |
Here is the process I would follow:
- Mix the salt and optional sugar in a shallow dish.
- Spread a layer of cure at least 2 to 3 cm deep across the base.
- Separate the yolks carefully and nestle each one into its own small hollow.
- Cover them completely with more salt so no yellow shows through.
- Refrigerate for 5 to 7 days for a firm yolk, or 7 to 10 days if you want a drier, more grateable result.
- Lift the yolks out gently, brush off the salt, and pat them dry very lightly with kitchen paper.
- Dry them further until the surface is matte and no longer tacky. I usually do this uncovered in the fridge for 12 to 24 hours, or in a very low oven if I want them harder.
If you like a cleaner, salt-forward finish, use salt alone. If you want a rounder flavour, especially for pasta or potatoes, a small amount of sugar softens the edges without turning the yolks sweet. I would not make the cure heavily sugary unless I was aiming for a more dessert-like or pastry-led use. From here, the main question is not whether the yolks work, but how you know they are ready.
How to know when they are ready and how long they keep
The simplest test is the feel. A cured yolk should lift cleanly, hold its shape, and feel firm enough to slice without collapsing. If it still feels wet in the centre or leaves a smear on your finger, it needs more time. For grating, I want the outside to feel dry, almost powdery, with no sticky spots.
- The surface should look matte rather than glossy.
- The yolk should come away from the salt without tearing.
- There should be no damp pool in the curing dish.
- The aroma should be savoury and clean, not sharp or unpleasant.
I treat the finished yolks as a chilled cured ingredient, not as a shelf-stable pantry item. Store them in an airtight container in the fridge, ideally with a small piece of parchment or kitchen paper to reduce condensation. For quality, I would plan to use them within 2 to 4 weeks after curing and drying, although a very dry yolk can sometimes last longer. If you see mould, smell anything off, or notice a slimy texture, discard it without trying to rescue it.
That storage mindset matters because the ingredient only shines when it still tastes fresh and precise. Once you know what ready looks and feels like, the useful part begins: putting it on food that can carry its salt and richness.
Where they work best on the plate
I like cured yolk most when a dish already has good structure and just needs a final layer of depth. It behaves a lot like a finishing cheese, but with a more rounded egg richness. In Basque-inspired cooking, that means it works especially well with olive oil, potatoes, seafood, peppers, and green vegetables rather than with heavy sauces that already dominate the plate.
| Dish | How to use it | Why it works |
|---|---|---|
| Warm new potatoes with olive oil | Grate a little over the top just before serving | The starch and fat carry the salt beautifully. |
| Grilled hake, cod, or other white fish | Use a few fine shavings as a finish | It adds richness without needing another sauce. |
| Asparagus, green beans, or courgettes | Scatter lightly over the vegetables | The sweetness of the vegetables balances the salt. |
| Piperade or roasted peppers on toast | Finish with a small amount and extra olive oil | It fits the bright, pepper-led style of the dish. |
| Simple pasta | Grate it over the finished bowl, not into the sauce | Heat softens the shavings and spreads the flavour evenly. |
| Fried eggs on toast | Use just a pinch over the yolk and white | It doubles down on egg richness without feeling redundant. |
My rule is simple: add it at the end, and use less than you think. Too much cured yolk can flatten a dish just as easily as too much parmesan or too much salt. The point is to lift the flavours around it, not to make every bite taste the same. If that sounds easy enough, the real challenge is avoiding the common mistakes that make the texture go wrong.
Common mistakes that weaken the result
Most failures with this ingredient are not dramatic. They usually come from impatience, uneven salt coverage, or trying to dry the yolks too aggressively. The good news is that all of those are easy to fix once you know what to look for.
| Mistake | What happens | Better approach |
|---|---|---|
| Not burying the yolks completely | Patchy curing and wet spots | Use a deeper bed of salt and a smaller dish. |
| Moving the yolks during curing | Broken membranes and uneven texture | Place them once and leave them alone. |
| Rinsing too hard after curing | You add moisture back into the surface | Brush or wipe off excess salt gently instead. |
| Drying too fast in a hot oven | The outside hardens before the inside settles | Use a very low temperature or a longer fridge dry. |
| Storing them with condensation | Softening and possible spoilage | Cool them fully before sealing them in a container. |
| Using them before they are dry enough | They smear instead of grate | Give them another day or two of drying time. |
The biggest correction I make in practice is patience. A yolk that is only half-ready can still taste good, but it will not give you the texture you want, and that texture is the whole point. Once you know the weak spots, the technique becomes reliably useful, which brings me to why I keep it around in a Basque-style kitchen at all.
Why this belongs in a Basque-style pantry
Basque cooking often rewards restraint, contrast, and very good ingredients handled without fuss. That is exactly why cured yolk fits so naturally into the same world. It adds depth in the same way a good olive oil, a bright pepper, or a piece of well-cooked fish adds depth: by improving the whole plate rather than announcing itself loudly.
I would keep it close to ingredients like potatoes, seafood, piquillo-style peppers, mushrooms, and crusty bread. It is especially effective on pintxos, where one sharp finishing note can make a small bite feel complete. It is also a useful way to turn leftover yolks into something practical instead of letting them sit unused after a meringue, aioli, or pasta dish.
- Grate it over warm, simply cooked food rather than heavily sauced food.
- Pair it with olive oil, black pepper, lemon zest, or fresh herbs.
- Keep the portion small; the flavour is concentrated.
- Use it when you want savoury lift, not when you need bulk.
If I were stocking a small kitchen for the kind of food this site celebrates, I would keep cured yolks right beside good olive oil and coarse salt. They are not a trick, and they are not a replacement for proper seasoning; they are a precise finishing tool that gives a dish a little more depth, especially when the rest of the plate is already doing the right things.
