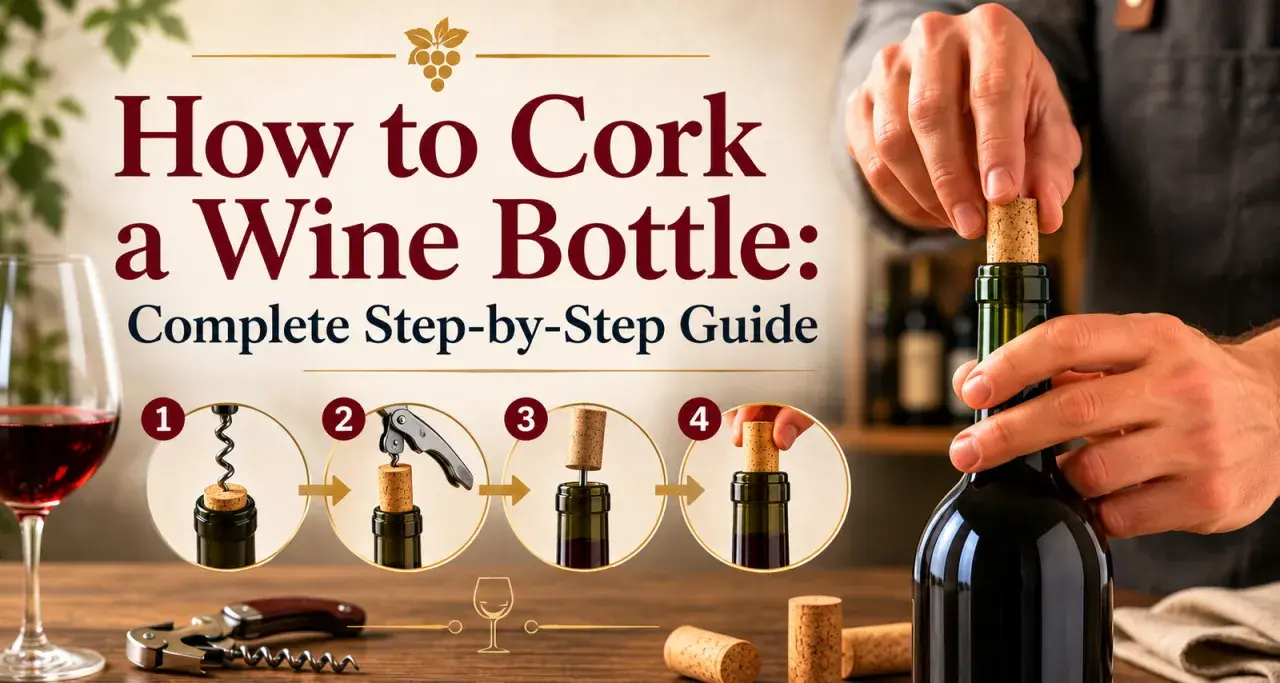
Sealing a wine bottle properly is about fit, cleanliness, and timing, not brute force. This guide explains how to cork a wine bottle correctly, from choosing the right closure to checking that the seal settles the way it should. I am focusing on the practical details that matter when the bottle is meant to age quietly, or to arrive at the table looking tidy beside food and conversation.
The essentials before you start corking
- Match the cork to the bottle and the job; standard 750 ml bottles usually take 38 mm corks, often in #8 or #9 sizes.
- Use a clean, well-aligned corker; a good seal is mostly about straight pressure and the right compression.
- Keep the corks clean and dry; if they need conditioning, use only a brief sanitising soak, not a long one.
- Leave sensible headspace before corking so the cork seats properly without pushing back out.
- After corking, keep the bottles upright for 48 to 72 hours, then store natural-cork bottles on their side.
Choose the right cork and corker for the bottle
For most still wines, I reach for a standard cylindrical cork rather than a stopper meant for sparkling wine or short-term service. A common size for 750 ml bottles is a 38 mm cork with a diameter around 21 mm, and #8 or #9 widths are the usual starting point depending on how dense the cork is and how strong your corker is. I prefer denser corks when the wine is meant to age, because they tend to seal more reliably and feel less fragile under pressure.
The tool matters just as much. A basic hand corker is cheap and fine for the odd few bottles, while a freestanding or floor corker is steadier and far easier on your hands if you are doing several cases. In UK shops, I have seen hand corkers around £7.45 and freestanding corkers around £52.50, which is a useful reminder that comfort and consistency cost a little more, but not absurdly more.
| Closure | Best for | What I would watch for |
|---|---|---|
| Natural cork | Traditional still wines and longer ageing | Needs good compression and clean handling |
| Technical or agglomerated cork | Everyday bottling and moderate ageing | Can vary in density, so check the quality |
| Synthetic cork | Shorter storage or casual use | Usually easier to insert, but less traditional |
If the bottle, cork, and tool are not matched sensibly, the seal will be the weak point no matter how carefully you work. Once that choice is settled, the next job is to prepare everything so the cork can seat cleanly.
Prepare the bottles and corks before they meet
The best-looking seal usually starts before the bottle reaches the corker. I clean and sanitise the bottles, check the necks for chips, and make sure the outside of the bottle is dry where the corker jaws will grip it. If the corks came sealed and fresh, I use them straight away; if they seem a little dry or dusty, I give them only a brief sanitising mist or a short soak in a weak sulphite solution, then let the surface drain. I do not boil corks, and I do not leave them sitting in water long enough to soften into mush.
If the corker is new to me, I do one dry run with an empty bottle first. That quick practice tells me whether the jaws, meaning the gripping parts that compress the cork, are meeting cleanly and whether the bottle sits straight under the head. It is a small check, but it saves a lot of frustration when the batch is already filled.
The other detail I care about is fill level. Leave roughly 1.5 to 2 inches, or about 4 to 5 cm, of space below the rim so the cork has room to compress without being forced back out. Too little headspace can push the cork upward later; too much leaves more air in the bottle than I want. That balance matters whether I am bottling a simple dinner wine or something I want to keep for a proper cellar rest. With the prep done, the actual insertion is straightforward, and it is easier than most beginners expect.
Cork the bottle in one clean motion
When I am ready to insert the cork, I keep the motion simple. The goal is straight compression, not force. A hand corker or floor corker should do the hard work for me; my job is only to keep the bottle centred and the cork aligned.
- Place the cork in the corker exactly as the device expects, usually vertical and centred.
- Set the bottle under the cork head and line up the neck before you pull the lever.
- Press the cork in with one controlled motion rather than several half-pulls.
- Stop when the cork sits just below the lip and the neck looks even all around.
- Wipe the neck and check that no wine has crept onto the closure area.
I like to think of this as a tidy mechanical step, not a wrestling match. If the cork starts to split, or the jaws slip, I stop and replace the cork instead of trying to rescue it. That instinct saves the bottle, and it usually saves the seal too. The trouble usually shows up later, so I like to check for the classic failure points before I move the bottles away.
Spot the mistakes before they become leaks
Most bad seals come from a short list of predictable problems, and I would rather diagnose those than blame the wine. If the cork looks uneven, rises again, or leaves the bottle neck stained, the cause is usually a mismatch between the cork, the bottle, and the tool.
| Problem | Likely cause | What I do |
|---|---|---|
| Cork springs back up | Too much headspace, wrong cork size, or weak compression | Check the fill level and switch to a better-fitting cork |
| Cork sits crooked | Bottle not centred or corker jaws worn | Re-align the bottle and inspect the jaws |
| Cork splits | Dry or damaged cork, or too much force | Discard the cork and use a fresh one |
| Wine leaks around the neck | Damaged bottle lip or poor seal | Replace the bottle rather than gambling on it |
The pattern is simple: when the seal fails, I look first at size, alignment, and cork condition, not at the wine itself. That saves time and avoids overcorrecting a problem that is really mechanical. Once those issues are ruled out, the seal only has to settle and hold.
Let the seal settle before you store the bottles
After corking, I keep the bottles upright for 48 to 72 hours so the cork can re-expand in the neck and finish seating properly. That short pause is one of the easiest ways to prevent a cork from creeping upward later. Once the seal has settled, natural-cork bottles can go on their side in a cool, dark, stable place; that keeps the cork in contact with the wine and helps the seal stay supple.
I am stricter with temperature than with almost anything else here. Heat swings push pressure around inside the bottle, and even a decent cork will behave badly if the storage space is too warm or too changeable. If I am bottling wine for a restaurant cellar, a family dinner, or a small batch meant to age, I want a place that stays boring: cool, dark, and steady. Once you know where cork fits, the next question is whether cork is the right closure at all.
Know when cork is the wrong answer
Cork is the right choice for many still wines, but it is not universal. I would not use a standard still-wine cork for a bottle that is expected to build pressure, because sparkling wine needs pressure-rated bottles and closures. Likewise, if a bottle is meant to be consumed very quickly, a screw cap or synthetic closure may be more practical than a traditional cork.
- Sparkling wine needs pressure-rated bottles and closures.
- Very short-term bottles can be better with a screw cap or synthetic closure.
- If the corker keeps damaging the corks, the issue may be the equipment or the closure choice, not technique.
I still like cork for wines that should feel deliberate at the table, because it suits a slower meal and a more thoughtful pour. But I do not force it onto every bottle just for tradition. The best closure is the one that fits the wine, the bottle, and the time you plan to keep it. When those pieces are aligned, the process becomes routine instead of fussy.
The small routine that keeps a corked bottle honest
The routine I trust is simple: keep the bottles clean, choose a cork that matches the job, seat it straight, and let the seal settle before storage. That is enough for a bottle that needs to age quietly, or one that will be opened with grilled fish, roast vegetables, or a proper cheese board. I would rather repeat a calm, consistent method than improvise every time.
- Keep a spare cork and one spare bottle nearby for practice or replacements.
- Label only after the necks are dry and the corks have settled.
- Store the batch in a cool, dark, stable place, not next to heat or sunlight.
Once those habits are in place, corking stops being a fiddly bottling chore and becomes a reliable finishing step.
