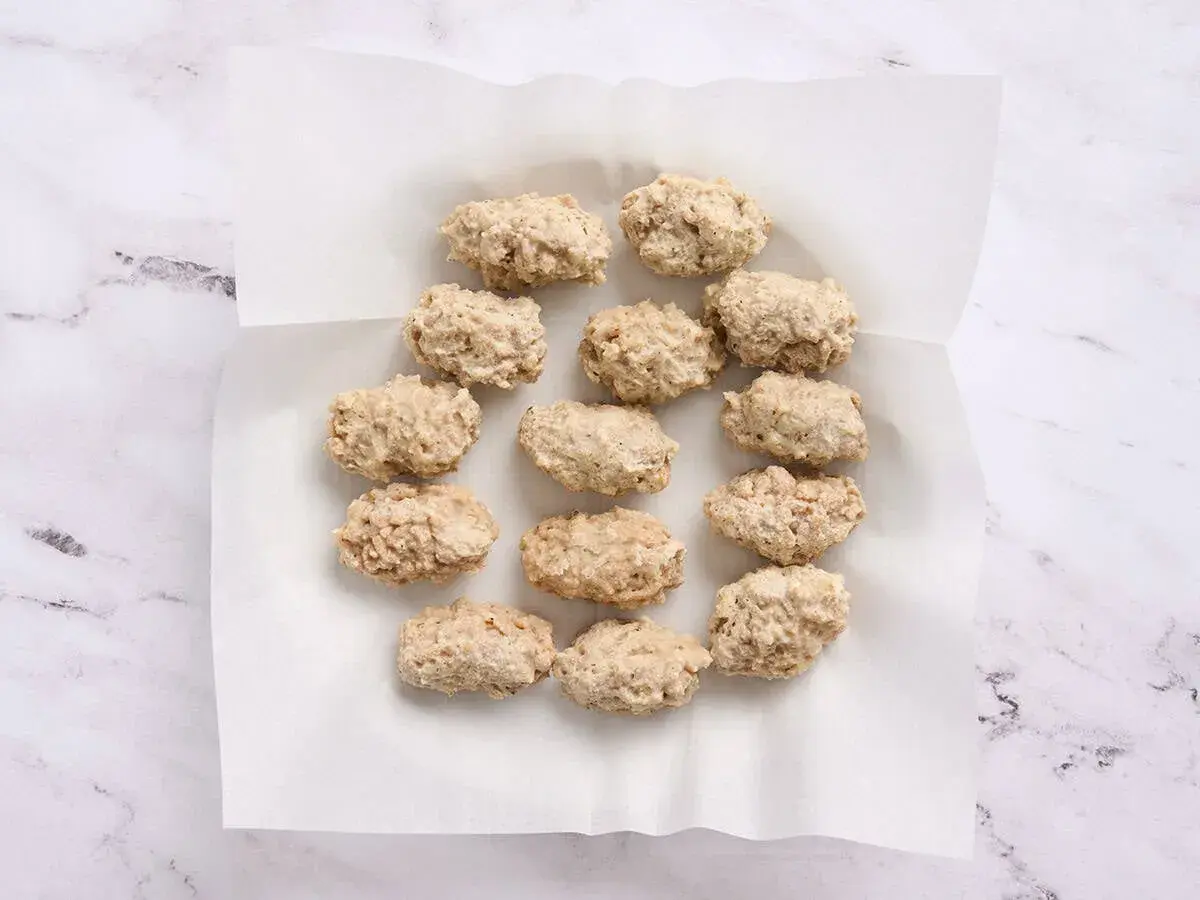
Chicken croquettes sit right between comfort food and bar snack: creamy in the middle, crisp outside, and easy to serve with drinks. In this article I focus on what makes them work, how the béchamel should feel, how to shape and fry them without cracks, and how I would place them on a tapas or pintxos board at home. I’m writing for cooks who want the method to feel clear rather than fussy, with a few practical details that matter in a UK kitchen.
What matters most if you want a crisp shell and a creamy centre
- The filling must be thick enough to hold its shape after chilling, not spoonable like a sauce.
- Season the chicken mixture a little more boldly than you would a finished plate; the crumb softens flavour.
- Use fine breadcrumbs and fry at 175-180°C for even colour without a greasy crust.
- For tapas, serve them warm in a shared dish; for pintxos, keep the pieces smaller and neater.
- They freeze well once shaped, which makes them a sensible make-ahead snack for guests.
Why they fit a tapas or pintxos table so naturally
I think chicken croquettes work because they solve a very specific problem in small-plate eating: they feel substantial without being heavy to serve. In tapas culture, that matters because the best dishes invite grazing, not commitment. In Basque pintxos culture, the same idea goes one step tighter, with smaller portions, cleaner presentation, and a bar-friendly shape that can be lifted in one or two bites.
That difference is easy to miss, but it changes how I plan the dish. Tapas can be generous and shared from the middle of the table, while pintxos usually feel more precise, more compact, and more intentional. Croquettes sit comfortably in both worlds, but I treat them as a warm counterpoint to briny, acidic, or charred bites rather than as the centre of the entire spread.
| Setting | What it usually means | How I would serve croquettes |
|---|---|---|
| Tapas | Shared small plates ordered in a loose mix | Three or four on a small plate with a sharp dip or lemon on the side |
| Pintxos | Basque bar bites, often smaller and more precise | Smaller croquettes, served neatly on bread or in a tight line on a plate |
| Home spread | Informal table service for friends | Keep them hot, batch-fry, and pair with acidic or briny sides |
Once you see them as a format rather than just a recipe, the next question is how to build the filling so the croquettes hold that bar-snack shape without feeling dry.
The béchamel needs to be firmer than most home cooks expect
The filling is where the dish is won or lost. I want a béchamel that is thick enough to sit in the pan as a mass, not one that flows like a white sauce for pasta. If the mixture is too loose, it may taste fine, but it will fight you all the way through shaping, coating, and frying.
For a batch of about 20-24 small croquettes, this is the balance I trust at home:
| Ingredient | Practical amount | Why I use it |
|---|---|---|
| Butter | 80 g | Builds the roux and gives roundness |
| Plain flour | 80 g | Enough structure to make a firm béchamel |
| Whole milk | 600-700 ml | Loose enough to whisk, but thickens firmly after cooking |
| Cooked chicken | 200-250 g, finely chopped | Gives flavour without making the mixture wet |
| Fine breadcrumbs | Enough to coat twice | Cleaner crust than coarse crumbs |
| Oil temperature | 175-180°C | Golden outside before the filling leaks |
I keep the seasoning restrained but not timid: salt, white pepper, and a little nutmeg usually do the job. If I’m using leftover roast chicken from a Sunday dinner, I will often add a little extra salt because the meat has already lost some moisture and needs a bit more edge. The texture test is more useful than any timer here: when I drag a spoon through the pan, the line should stay open for a second or two before closing.
Once the filling is thick enough to stand up to itself, shaping becomes much easier, which is exactly where I want to move next.

How I shape and fry them without losing the filling
The safest workflow is simple: chill, portion, coat, chill again, then fry. I do not rush that second chill, because warm filling is the easiest way to get cracked shells and messy oil. For a pintxos-style batch, I aim for croquettes around 25-30 g each; for a fuller tapas plate, 35-40 g works better and still feels elegant.
- Chill the béchamel until it is firm enough to scoop cleanly, ideally for at least 4 hours and often overnight.
- Shape each piece with lightly floured hands or two spoons, keeping the size consistent so they fry evenly.
- Roll first in plain flour, then beaten egg, then fine breadcrumbs. If the mixture feels soft, I repeat the egg-and-crumb step.
- Rest the breaded croquettes in the fridge for 20-30 minutes before frying.
- Fry in small batches for 2-3 minutes, just until deep golden, then drain on a rack rather than letting them sit in steam.
I prefer fine crumbs over coarse panko when I want a more traditional result. Panko can be excellent if you want a sharper crunch, but it changes the texture and makes the exterior read more modern than classic. Small batches matter more than people think: if the pan is crowded, the oil temperature falls, the crust drinks oil, and the result feels heavier than it should.
Once the method is steady, the dish becomes easy to serve well, and that is where tapas and pintxos thinking really pays off.
How I serve them on a tapas table at home
When I build a plate around croquettes, I keep the rest of the table sharp, salty, and bright. They are rich by design, so I want contrast rather than more cream. In a Basque-style spread, that means pickled peppers, olives, grilled peppers, anchovies, or a bitter green salad rather than another deep-fried item that competes for attention.For a British home table, I would keep the pairings practical and realistic:
- A small bowl of alioli or lemon mayonnaise for dipping, but not both at once.
- Pickled chillies, cornichons, or piparras if you can find them, because acidity cuts the béchamel.
- Thin slices of jamón, roast peppers, or a simple rocket salad to lighten the plate.
- A dry cider, a crisp lager, fino sherry, or a chilled white with enough acidity to refresh the palate.
If I want a pintxos-style feel, I make the croquettes smaller and arrange them neatly, sometimes on a narrow piece of toast or beside another bite with very little garnish. The point is not to build a dramatic tower of food; it is to make each bite feel easy, tidy, and worth reaching for. That naturally leads to the mistakes that usually sabotage the dish before it gets to the table.
Common mistakes that make good croquettes fall apart
Most failures are not about flavour. They come from moisture, heat control, or impatience. When I troubleshoot croquettes, I usually find one of four problems recurring.
| Problem | What happens | What I do instead |
|---|---|---|
| Mixture too soft | It spreads or cracks when shaped | Cook it longer, or chill overnight before trying again |
| Oil too cool | The crust turns greasy instead of crisp | Keep the oil near 175-180°C and fry fewer at a time |
| Breadcrumbs too coarse | The shell browns unevenly and feels rough | Use fine crumbs or pulse stale bread briefly |
| Pan overcrowded | Temperature drops and the croquettes absorb oil | Work in small batches and give each one space |
I also see people underseasoning the filling because they expect the breading to carry the taste. It doesn’t. The filling needs to be confidently seasoned before it ever meets the crumb, because the crust softens the flavour perception a little. Once you get that part right, the next useful question is how to make the whole process easier on a busy day.
Make-ahead habits that make them easier on a busy night
This is one of the most practical dishes in the tapas world because the work can be split across the day. I often make the filling in advance, shape it later, and fry only when guests are close to arriving. That rhythm keeps the kitchen calm and gives me better control over the final texture.
For storage, I would treat them like this:
- Uncooked, breaded croquettes keep well in the fridge for 24 hours on a tray covered loosely.
- For longer storage, freeze them on a tray first, then move them to a container or bag once solid.
- If I freeze them, I prefer to thaw them in the fridge overnight before frying for the most even result.
- Cooked croquettes are best reheated in a hot oven, around 180°C, for 8-10 minutes rather than in a microwave.
In a UK kitchen, I would also lean on what is easy to find: plain flour, whole milk, unsalted butter, and good leftover roast chicken all do the job well. You do not need special ingredients to make this dish feel authentic; what matters is moisture control, resting time, and a clean fry. That leaves just one question: what should I keep in mind when I actually serve them?
The small details that make the plate feel finished
If I want these croquettes to feel restaurant-level, I finish them with a light touch rather than more decoration. A small pinch of salt straight after frying, a little lemon on the side, and a plate that goes to the table immediately are usually enough. I also keep the rest of the menu modest, because the best tapas or pintxos spread leaves space for each bite to stand out instead of forcing every item to compete.
That is the real appeal of chicken croquettes in this setting: they are simple, but only when the texture is disciplined. Keep the filling thick, the coating fine, and the oil steady, and you get a dish that feels equally at home as a casual tapas snack or a neat pintxos-style bite. That balance is what makes them worth repeating.
