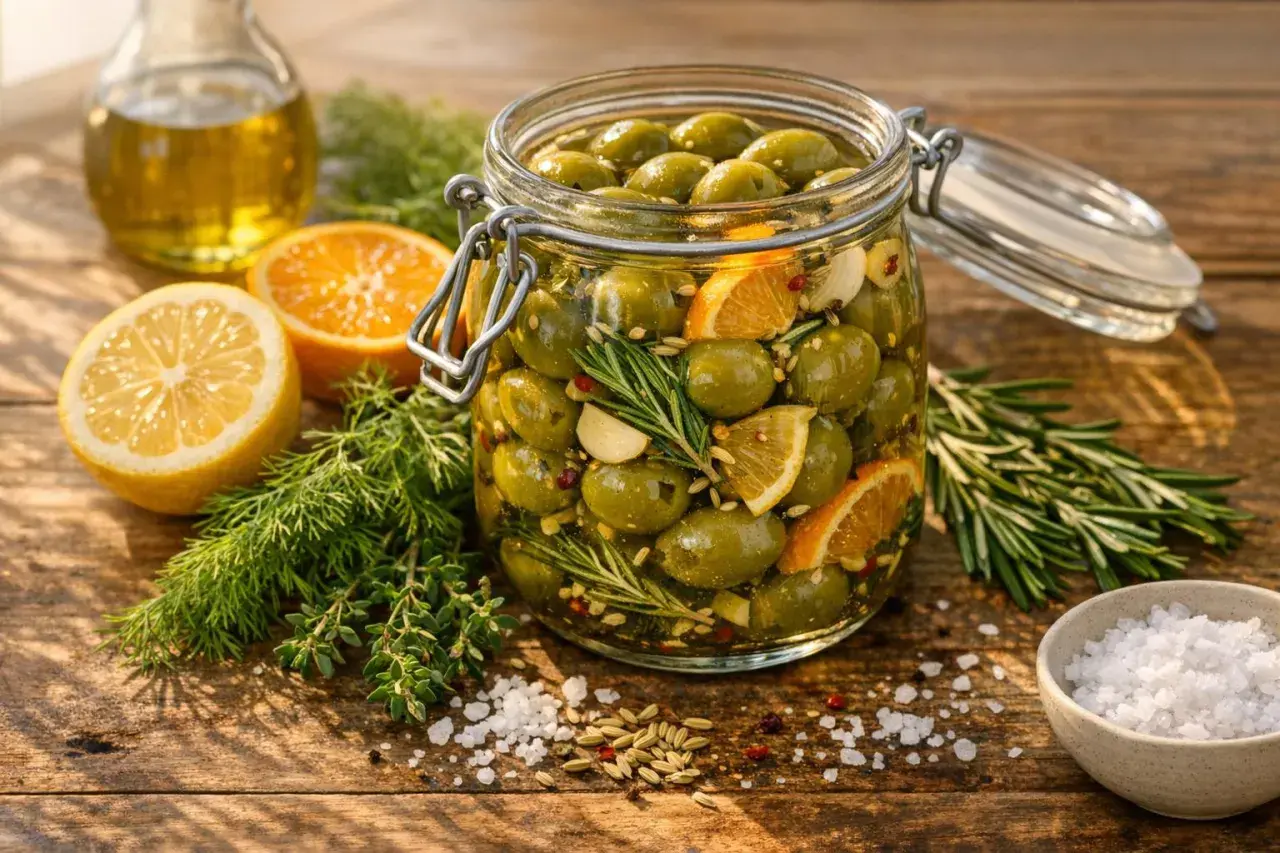
A good olive brine does three jobs at once: it draws bitterness out of fresh fruit, protects the olives while they cure, and gives you a clean savoury base for serving them later. A reliable brine for olives is simple on paper, but the details matter if you want fruit that stays firm, tastes balanced, and never turns dull or overly salty. In this guide I focus on the salt ratio, the ingredients that really matter, the curing process, and the mistakes that most often spoil a batch.
The main thing to get right is salt, submersion, and patience
- Use plain salt and clean water: in the UK, preserving salt or fine sea salt is the safest choice.
- Keep the olives fully submerged: exposure to air is one of the fastest ways to invite problems.
- A 10% brine is a solid home baseline: that means 100 g of salt per 1 litre of water.
- Green olives usually need more time: cracked fruit cures faster than whole fruit, but whole olives often keep a firmer texture.
- Plain curing brine is best: save herbs, citrus, and garlic for the finishing jar unless you want a strongly flavoured cure.
What olive brine is really doing
Fresh olives are bitter because of a natural compound called oleuropein, which is part of the fruit’s defence system and has to be reduced before olives are pleasant to eat. Salt water does not erase that bitterness instantly; it works slowly, drawing flavour and moisture through the skin while creating an environment that favours preservation rather than spoilage.
That is why I treat olive brine as a working solution, not a decorative one. It needs to be strong enough to protect the fruit, mild enough not to flatten the flavour, and stable enough to let the olives keep their character. Once that logic is clear, the rest of the process becomes much easier to control.
The practical takeaway is simple: if the brine is too weak, the olives can spoil before they are ready; if it is too strong, the fruit can taste aggressively salty before the bitterness has fully softened. From there, the next question is what actually belongs in the jar.
The ingredients that matter most
In the UK, I keep the ingredient list as short as possible. The fewer variables you introduce, the easier it is to taste what the olives themselves are doing. For a first batch, I would rather have a clean brine and good olives than a complicated jar full of herbs trying to do too much.
| Ingredient | What I choose | Why it matters | Common mistake |
|---|---|---|---|
| Water | Filtered water or cooled boiled water if the tap water tastes heavily chlorinated | Keeps the flavour clean and avoids a flat or metallic note | Using water with a strong chlorine edge |
| Salt | Plain sea salt or preserving salt with no additives | Dissolves cleanly and gives predictable results | Using iodised table salt or salt with anti-caking additives |
| Olives | Firm, unblemished fruit of a similar size | Even size means even curing | Mixing bruised, split, and healthy olives in one batch |
| Optional aromatics | Bay, lemon peel, thyme, fennel seed, or a little garlic for the finish | Adds character without hiding the olive | Over-seasoning the cure until the fruit tastes muddy |
My rule is straightforward: keep the curing brine plain, then layer flavour later if you want a more expressive result. That approach fits Basque-style cooking well, where the quality of the olive has to stand on its own before it joins the rest of the plate.
A practical salt ratio for home curing
For most home kitchens, weight matters more than volume. Salt crystals vary, spoons vary, and cups are a blunt instrument when you are trying to control fermentation or curing. I measure by grams because it keeps the batch repeatable, especially if I want to adjust the next jar.
My default is a 10% brine, which means 100 g of salt per 1 litre of water. That is a useful all-round baseline for many olives, especially when you are learning how your fruit behaves. If the olives are very green and bitter, I often move slightly stronger; if they are already ripe and softer, I can usually work a little lower.
| Brine strength | Mixing ratio | Best for | My take |
|---|---|---|---|
| 8% | 80 g salt per 1 litre water | Riper olives or a gentler finish | Useful, but a little slow if the fruit is very bitter |
| 10% | 100 g salt per 1 litre water | A dependable home curing baseline | The most practical starting point for most batches |
| 12% | 120 g salt per 1 litre water | Green olives, warmer kitchens, or longer storage | More protective, but you may want to lighten the flavour later |
If you only remember one number, remember 100 g per litre. That is easy to scale up, whether you are making 1 litre for a small jar or 10 litres for a larger batch. Once the ratio is right, the real work is keeping the fruit submerged and undisturbed.

How I mix and manage the batch
I start by sorting the olives carefully and discarding anything bruised, split, or suspect. A damaged olive does not just look messy; it can also become the first point where the batch turns. After that, I decide whether I want a faster cure or a firmer, slower one.
- Rinse the olives well. Remove dust, leaves, and any field debris before they go into the jar.
- Crack or slit the fruit if you want quicker curing. Whole olives take longer, but they often hold texture better.
- Dissolve the salt fully. If needed, use a little warm water first, then top up with cold water so the brine goes in cool.
- Pack the olives into a clean jar or crock. Leave some headspace, then cover them completely with brine.
- Weight them down. A fermentation weight, a clean small jar, or a food-safe bag filled with brine all work.
- Store them cool and dark. A steady temperature is more important than a perfect one; a warm kitchen speeds things up and raises the risk of off-flavours.
For timing, I think in broad ranges rather than rigid deadlines. Cracked green olives can start tasting usable in about 2 to 4 weeks, while whole olives often need 6 to 12 weeks, depending on variety and size. That is the point where tasting beats guessing.
If you live in a home that runs warm, I would rather move the jar to a cooler spot or the fridge than try to force the process. Good olive curing is patient work, and patience usually tastes better than speed.
How to judge flavour, texture, and timing
The best check is simple: taste one olive, then wait a few days and taste another from the same batch. I am looking for bitterness that has softened, salt that feels present but not harsh, and flesh that still has some bite. If the olive tastes flat, the cure may be too aggressive; if it is still sharply bitter, it simply needs more time.
| What I notice | What it usually means | What I do next |
|---|---|---|
| Still sharply bitter | The cure is too short, or the brine is too weak | Keep curing and check again in a few days |
| Very salty but otherwise mild | The brine is stronger than the fruit needs for serving | Move the olives to a lighter storage brine after curing |
| Soft, tired flesh | The fruit was overripe, bruised, or kept too warm | Adjust the next batch rather than trying to rescue this one |
| Thin surface film | Kahm yeast, which is usually a surface issue rather than a disaster | Skim it, restore submersion, and keep the jar cleaner |
| Fuzzy growth or a bad smell | Contamination or exposed fruit | Discard the batch |
I also pay attention to whether the olives are still completely covered. Floating fruit is a recurring problem, and I treat it seriously because exposed olives are much more likely to spoil. A light haze in the brine is not always a problem, but a genuinely off smell is.
The mistakes that ruin the batch
Most failed olive jars do not fail because the recipe is wrong. They fail because one practical detail was ignored for too long. I see the same few mistakes over and over, and they are all preventable.
- Using iodised salt: it can cloud the brine and add an unnecessary edge to the flavour.
- Leaving olives exposed to air: even a few floating fruit can trigger mould or off aromas.
- Starting with damaged olives: bruises and cuts are fine only if you deliberately cracked the fruit for curing.
- Adding too many aromatics too early: strong herbs, garlic, or citrus can make the cure muddy instead of clean.
- Expecting instant results: bitterness takes time to leave the fruit, and rushing usually makes the texture worse.
The most important correction is usually the simplest one: keep the olives submerged and keep the brine clean. If you get those two things right, you can still make small adjustments later, but if you miss them, there is much less room to recover.
Why brined olives belong on a Basque table
Brined olives fit naturally into Basque cooking because the cuisine respects bold, concise flavours. Think of a pintxo bar in San Sebastián: a few ingredients, each one chosen to do a specific job. The classic Gilda brings together an olive, a guindilla pepper, and anchovy, and the whole idea depends on the olive being briny, firm, and confident rather than overloaded with seasoning.
That is why I keep the curing stage plain when I want a Basque-style result. The olive should arrive on the plate ready to support the other ingredients, not compete with them. A good batch can sit beside anchovies, peppers, cured tuna, or a glass of dry white or txakoli without feeling like an afterthought.
For a UK table, that same logic works beautifully with a small plate of marinated vegetables, good bread, and a few tinned fish tins opened at the last minute. You do not need a full spread; you need a few ingredients that understand each other. Once you start thinking that way, olive curing stops being a preserve and becomes part of the meal.
What I keep in mind before sealing the jars
Before I close a jar, I check three things: the salt level, the submersion, and the label date. That sounds basic because it is basic, and in olive curing the basics matter more than cleverness. A tidy jar, a stable brine, and enough time will usually outperform a complicated recipe.
When I make brine for olives for a Basque-style table, I keep the cure plain and let the finishing flavours do their work later. If you want the olives to feel vivid rather than merely salty, keep the fruit firm, taste it often, and treat the brine as the foundation rather than the final flavour. That approach is usually enough to turn a simple preserve into something worth putting at the centre of the table.
